Photo Challenge: Photographing Sun Flare
Sun flare is a burst of light in your image, caused by the sun hitting your lens and scattering. The scattered light will appear as bright streaks and/or spots on your image.
For most of photography’s history, photographers avoided sun flare and believed it ruined an image. They considered it unprofessional and the mark of an inexperienced photographer.
In recent years, sun flare has become a sought-after effect. When used intentionally, sun flare can be gorgeous and add a lot to an image.

How to Create Sun Flare
Safety Tip: Do not actually look at the sun with your camera — you can damage your retina and eyesight. You will point your lens in the direction of the sun without actually staring at it and take the shot.
If you are using your phone, you can look at your screen safely, but don’t point your phone at the sun with the camera app for more than a second or two or you can damage your phone.
To create sun flare, you need to allow sunlight into your lens. This happens when you face the sun, or when the sun is positioned a little to your right or left. If you have a lens hood for your lens, remove it.
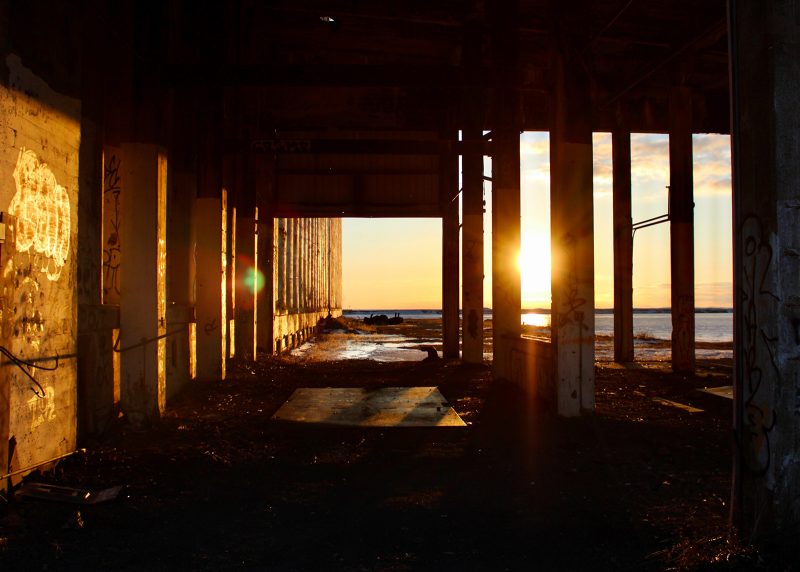
I like to position the sun to the upper right or upper left of most of my images because I just want a little flare. Plus compositionally, I think the sun works well in these locations.
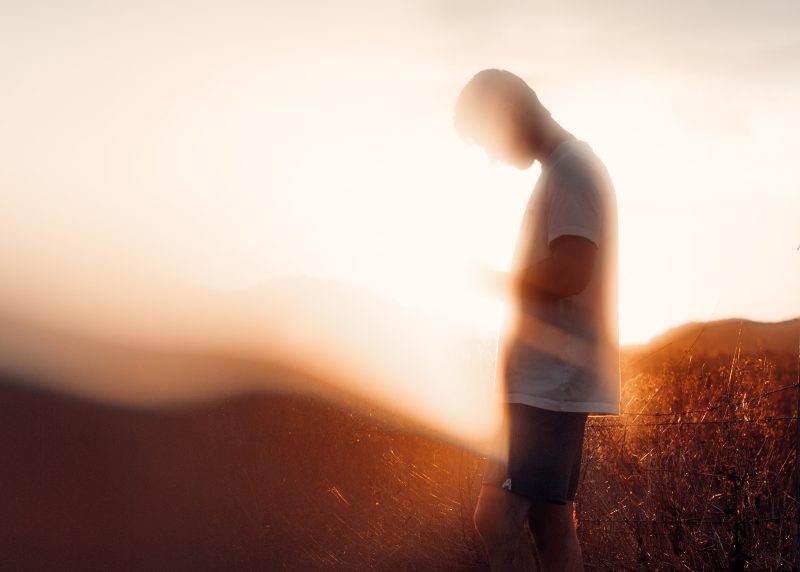
Keep in mind that with the sun in front of you, your subject will be backlit. So your subject may be a bit underexposed, if you expose for the background, or, if you expose for your subject, the background may be overexposed.
You also may have some trouble focusing, so move and shift your position a little bit until your camera finds focus. Or you can focus manually.
Tips for Sun Flare
When the sun is in the right position relative to your lens, it will leak into the lens and create some flare. If you have too much sun, you’ll just get a white blob or perhaps blow out the entire image.
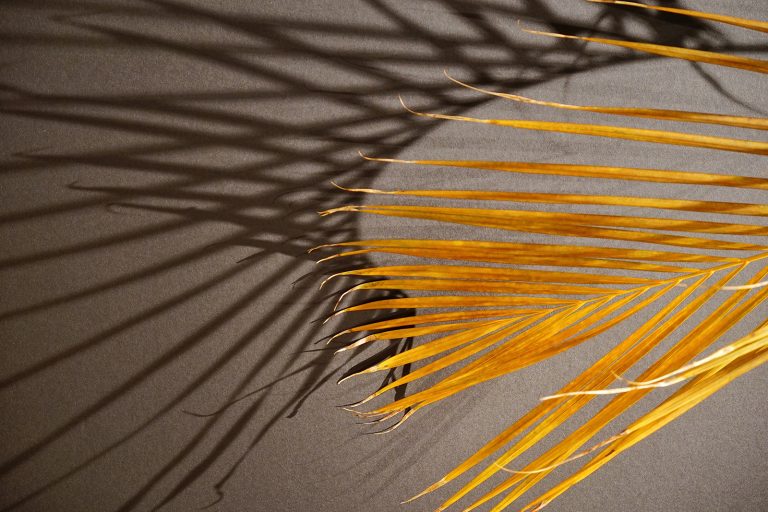
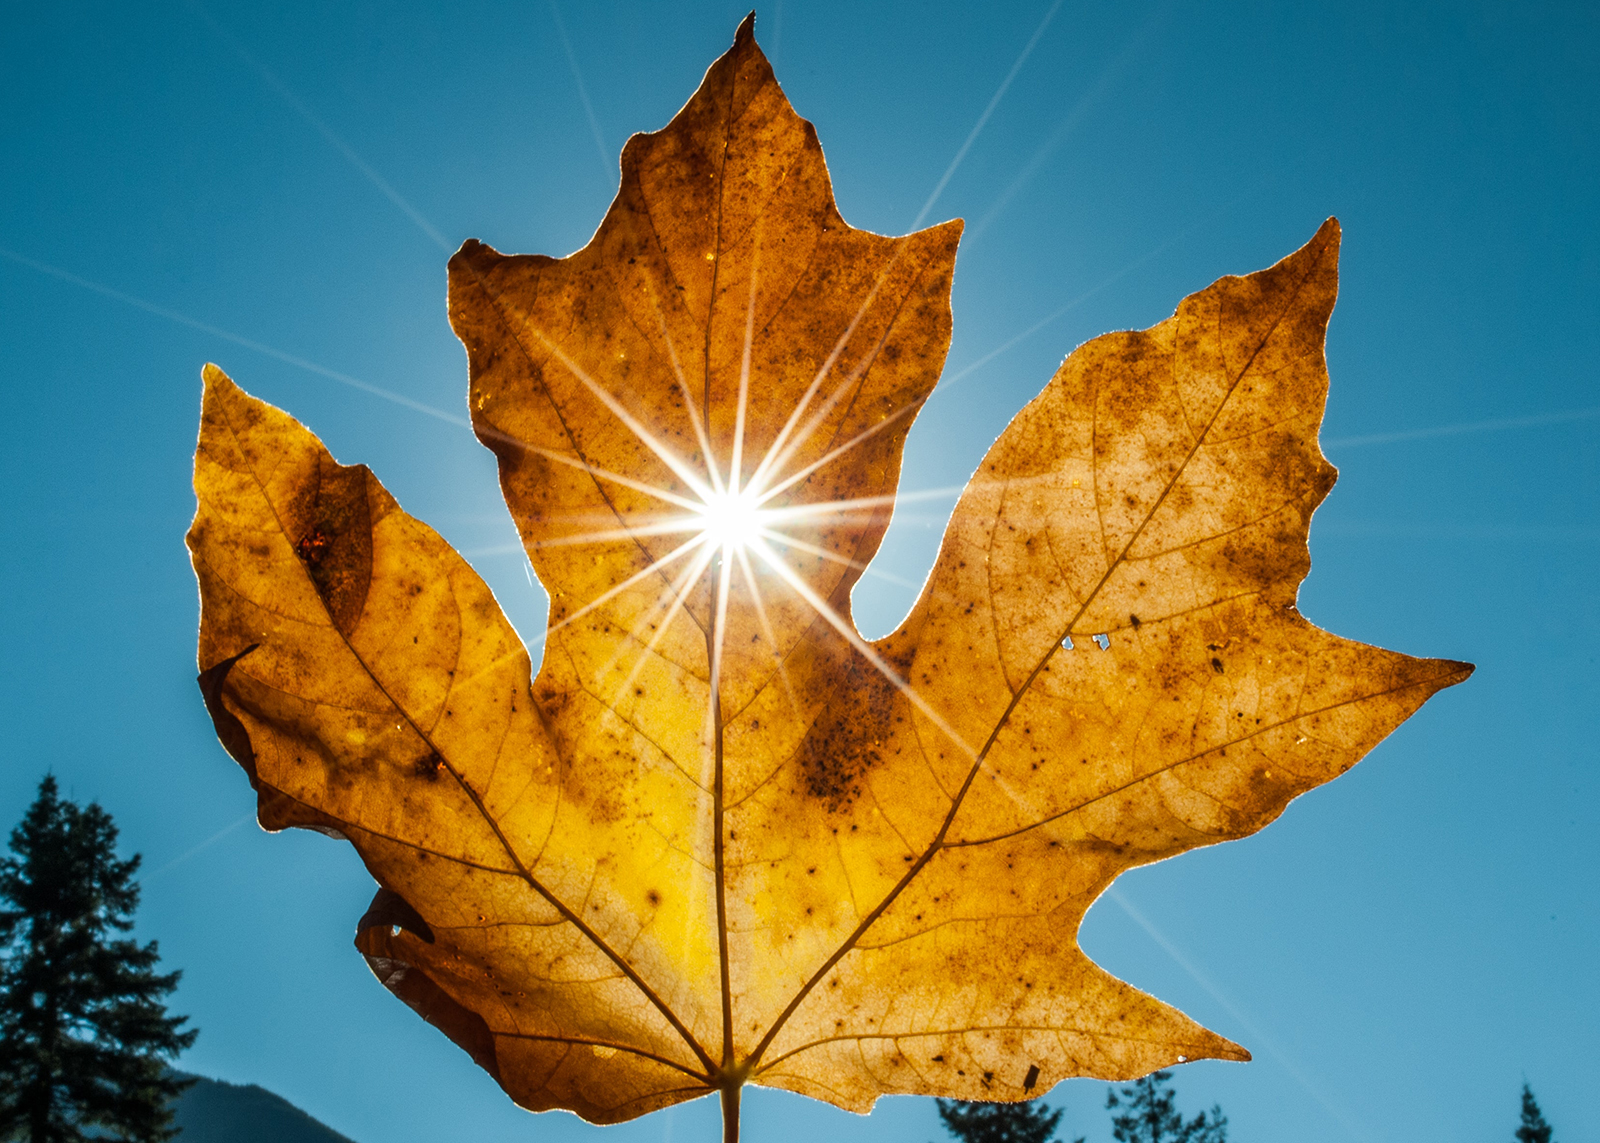
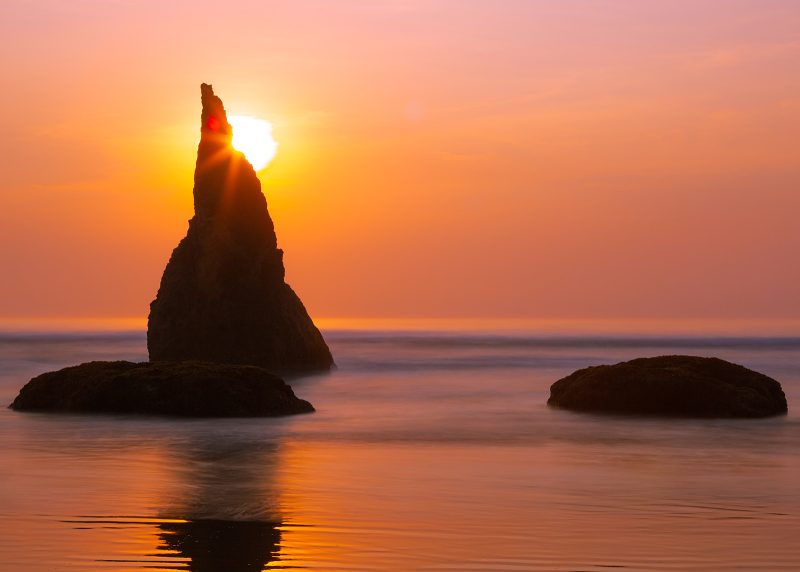
- If you’re having trouble getting flare, try obscuring part of the sun behind something that has an edge in order to see a more interesting flare, like a leaf or a building.
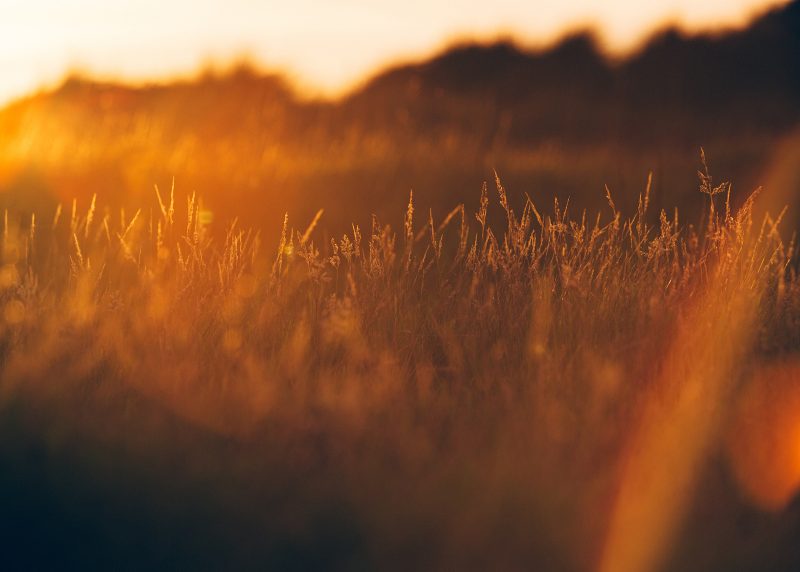
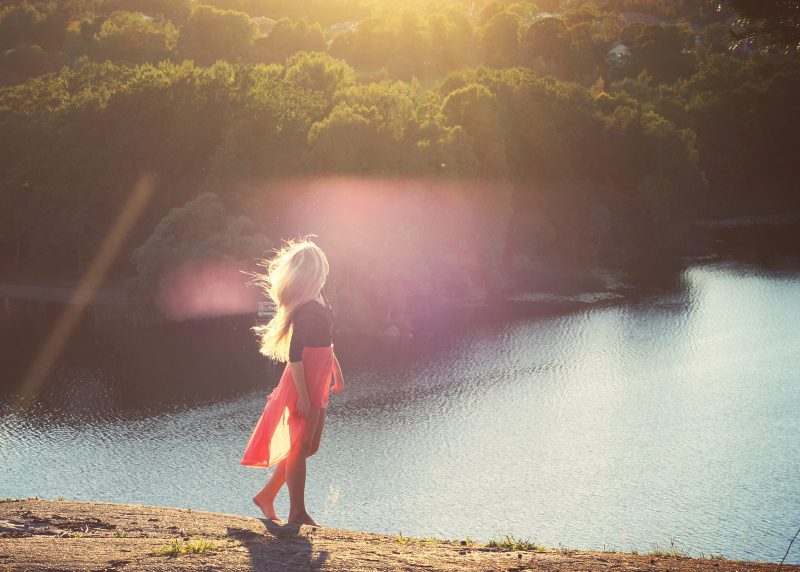
2. For broad, soft smears of light, you’ll want to shoot with a lower aperture.
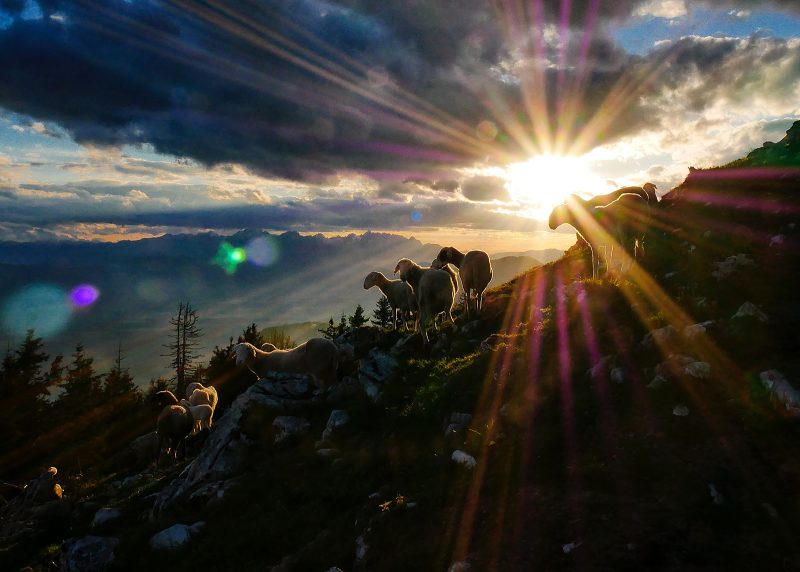
3. For starburst flares, you’ll want to shoot with a higher aperture.
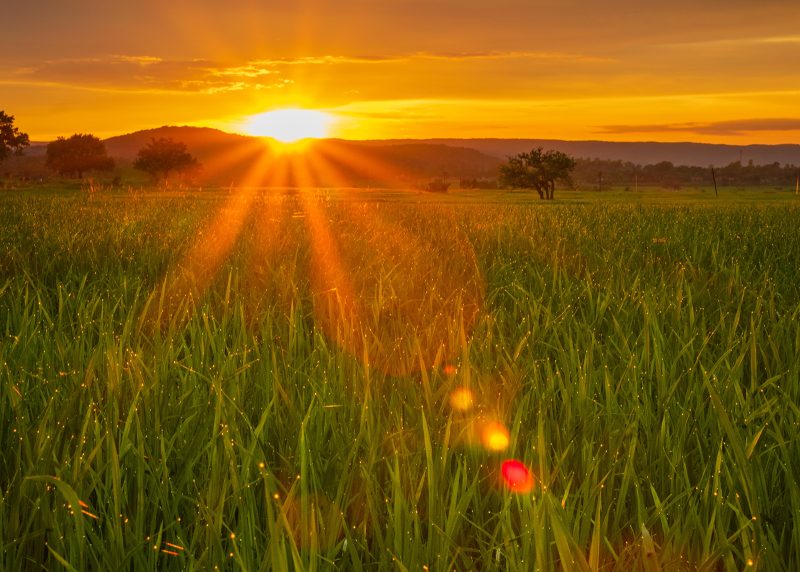
4. It’s much easier to get sun flare in early morning or late afternoon/early evening when the sun is lower in the sky. The light is much warmer in the evening, and you’ll often get an orange-red sun flare.
5. When you are getting some interesting sun flare, change your point of view a few times and see how the sun flare changes. Try shifting so that the sun isn’t actually in the image but is still creating flare. Experiment!
6. Use sun flare with other photography techniques, like slow shutter speed as in the example below.
#MindfulPhotoChallenge Day 26
Take a photograph using sun flare!
Share your images on Instagram with #mindfulphotochallenge and/or #RefocusPhotoChallenge, and tag me @ goodhartphotography.
If you enjoyed this article, you might like:
- My full color 30-Day Photography Challenge Workbook here on Amazon.
- My Photography Articles Listed and Sorted by Type here
- My Mindful Photography Workshop here
- My “A Gossamer Thread” Newsletter about photography/creativity, productivity, and joy here
Photo credits: Alexander-Dummer, Belinda-Fewings, Evie-S-Nzy, Joshua-Woroniecki, Luis-Eusebio, Mayur-Gala, Ross-Elder, Sherat-Beyazkaya, and Todd-Quackenbush.